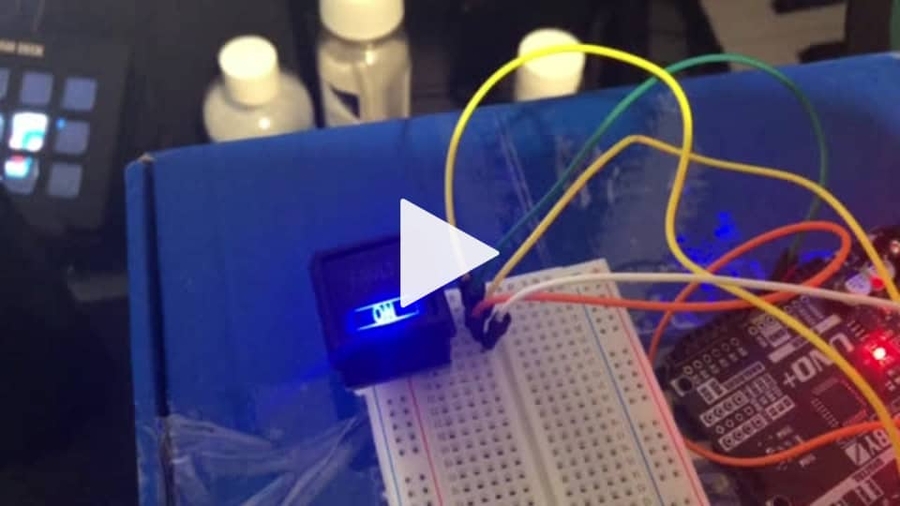
Getting Started
Everything you need to know to build your own OpenA3XX Korry switch!
We have designed this Korry switch to be a very effective and efficient unit. It is a great part of the project to start with for those who may be unsure of their soldering abilities or want to test the waters with something a bit smaller first. For those who are experienced, this unit will be a hassle free and simple addition to your existing projects. We are aware that the fact this unit uses a PCB may be a bit off putting to some people, but we assure you it is very accessible, cheap and easy to use. We believe this design makes it much easier to use, and easy to connect to other hardware. Please read through these pages carefully, as everything is explained in detail. If you have questions, please don't hesitate to contact us.
What You Need:
Parts & Components
1x 3D printed outer shell 1x 3D printed inner shell 1x Acrylic inlay (see below for more detail) 1x PCB (see below for more details) 2x Square LED (2mm x 3mm x 4mm) in appropriate colours 1x Push switch (5.8mm x 5.8mm) (in either self-locking or no-locking depending on type required) 2x 270 ohm SMD resistors (1206 footprint) 1x Pin header (1 row of 5) 2.54mm
Tools
Soldering iron Flux Solder Solder pump Helping hand Multimeter (Electrical/continuity circuit tester or some kind) Calipers
3D Printed Parts
The 3D printed parts consist of an inner and outer shell.

The smaller part sits inside the larger part, and they are held together by friction. The top of the switch is joined into the hole of the inner part, and it moves with the switch. This is the same for both the locking and non-locking switches.
When you print these, please double check their sizes with calipers!
The outer shell should be 20mm x 20mm (not including the lip). The inner shell should be 16.8mm x 16.8mm.
When you're ready to print them, please goto the GitHub and download these 2 files: KS-3D-IN1.stl KS-3D-OUT1.stl
Print them in the orientation they are currently in. You will only need to add a support to the bridge on the inner part. No support is needed anywhere else as the lip on the outer part prints fine without support.
Optional Higher Quality Shells
There is also the option of getting the shells professionally made. We tried a few different options and found the SLS In Nylon PA12 dyed black (polish finishing optional) was a really nice product, and very reasonably priced too. Here you can see the difference between PLA+ on the left and the professionally made SLS Nylon PA12 on the right.

Acrylic Inlays
The acrylic inlays are the surface of the actual button. The bit that your finger presses. It is a small peice of acrylic that is 2mm thick and is 14mm x 14mm. The acrylic is painted black on one side, and then the text is engraved through that paint, MIRRORED! It must be mirrored because the painted/engraved side will be the back, leaving the front to be smooth and clear for surface to push.
You can find out how to make these (or order them to be made) on the Acrylic Inlay page.
PCB
The PCB is something that may be worrying or concerning to you. You may be thinking you can't make these yourself, or that it's too complicated. Please be assured that it is a really easy solution, and all of the hard work is already done for you.
In short, you only need to download the relevant files and send them off to a PCB manufacturer. There is even the option of having them install the small components to the board for you if you wish. The cost of having these boards made is actually a lot cheaper than you think! You can find out more about this on the PCB page.

Last updated
Was this helpful?
